Setting up Seshat in a local Ubuntu environment
Hint
Local setup steps have been tested on an M1 Mac and on an Ubuntu VM running on the Mac. Instructions for setting up an Ubuntu VM on a Mac can be found here.
Prerequisites
Seshat requires the following software to be installed on your machine:
Python 3
PostgreSQL 16 with PostGIS
GDAL
GEOS
Installation instructions for prerequisites
Python 3
Ensure you have a working installation of Python 3. The application has been tested with Python 3.8.13.
If you don’t have Python installed, you can download it from the official website.
PostgreSQL and PostGIS
Ensure you have a working installation of PostgreSQL with PostGIS. The application has been tested with PostgreSQL 16.
If you don’t have PostgreSQL installed, you can follow the instructions below to install it on Ubuntu:
$ sudo apt install gnupg2 wget vim -y
$ sudo sh -c 'echo "deb http://apt.postgresql.org/pub/repos/apt $(lsb_release -cs)-pgdg main" > /etc/apt/sources.list.d/pgdg.list'
$ curl -fsSL https://www.postgresql.org/media/keys/ACCC4CF8.asc | sudo gpg --dearmor -o /etc/apt/trusted.gpg.d/postgresql.gpg
$ sudo apt update
$ sudo apt install postgresql-16 postgresql-contrib-16 postgresql-16-postgis-3 -y
$ sudo systemctl start postgresql
$ sudo systemctl enable postgresql
GDAL and GEOS
Ensure you have a working installation of GDAL and GEOS.
If you don’t have GDAL and GEOS installed, you can follow the instructions below to install them on Ubuntu:
Warning
You may first want to check the latest available version of libgeos using
$ sudo apt search libgeos
$ sudo apt-get install gdal-bin -y
$ sudo apt-get install libgdal-dev -y
$ sudo apt install libgeos++-dev libgeos3.10.2 -y
$ sudo apt install libgeos-c1v5 libgeos-dev libgeos-doc -y
Step 1: Set up a virtual environment for the project
You can use either Conda or Python’s built-in venv module to create a virtual environment for the project.
Create the environment:
$ conda create --name seshat python=3.8.13
Activate the environment:
$ conda activate seshat
Create the environment:
$ python3.8 -m venv seshat
Activate the environment:
$ source seshat/bin/activate
Step 2: Clone the repo
Using your Terminal, clone the repository:
$ git clone https://github.com/Seshat-Global-History-Databank/seshat
Step 3: Create an empty database and add the PostGIS extension
Hint
Note that you’ll have to use ; to end each SQL command. They will not work without this character.
In order to create a database, open psql in the terminal:
$ sudo -u postgres psql
In the database, run the following SQL command to create a new database. Note that you should replace <seshat_db_name> with the name you want to give the database:
CREATE DATABASE <seshat_db_name>;
Exit out of the psql program:
\q
Then open the database using the name you just created in place of <seshat_db_name>:
$ sudo -u postgres psql -d <seshat_db_name>
Now, you can add the PostGIS extension to your database:
CREATE EXTENSION postgis;
Step 4: Configure GDAL and GEOS
Open seshat/settings/base.py and check (or update) the paths in the following variables, which should be to the paths to your local gdal and geos installations:
GDAL_LIBRARY_PATHGEOS_LIBRARY_PATH
Note: there are hardcoded paths in base.py for the Mac and Ubuntu instructions above included.
Step 5: Install the Python packages
Install the Python packages in your environment (some packages have these as dependencies).
From the top level of the seshat directory, run the following commands to install the packages from the requirements.txt file and the django-geojson package:
$ pip install -r requirements.txt
$ pip install "django-geojson [field]"
Step 6: Seshat database setup
Restore Seshat database from dump file:
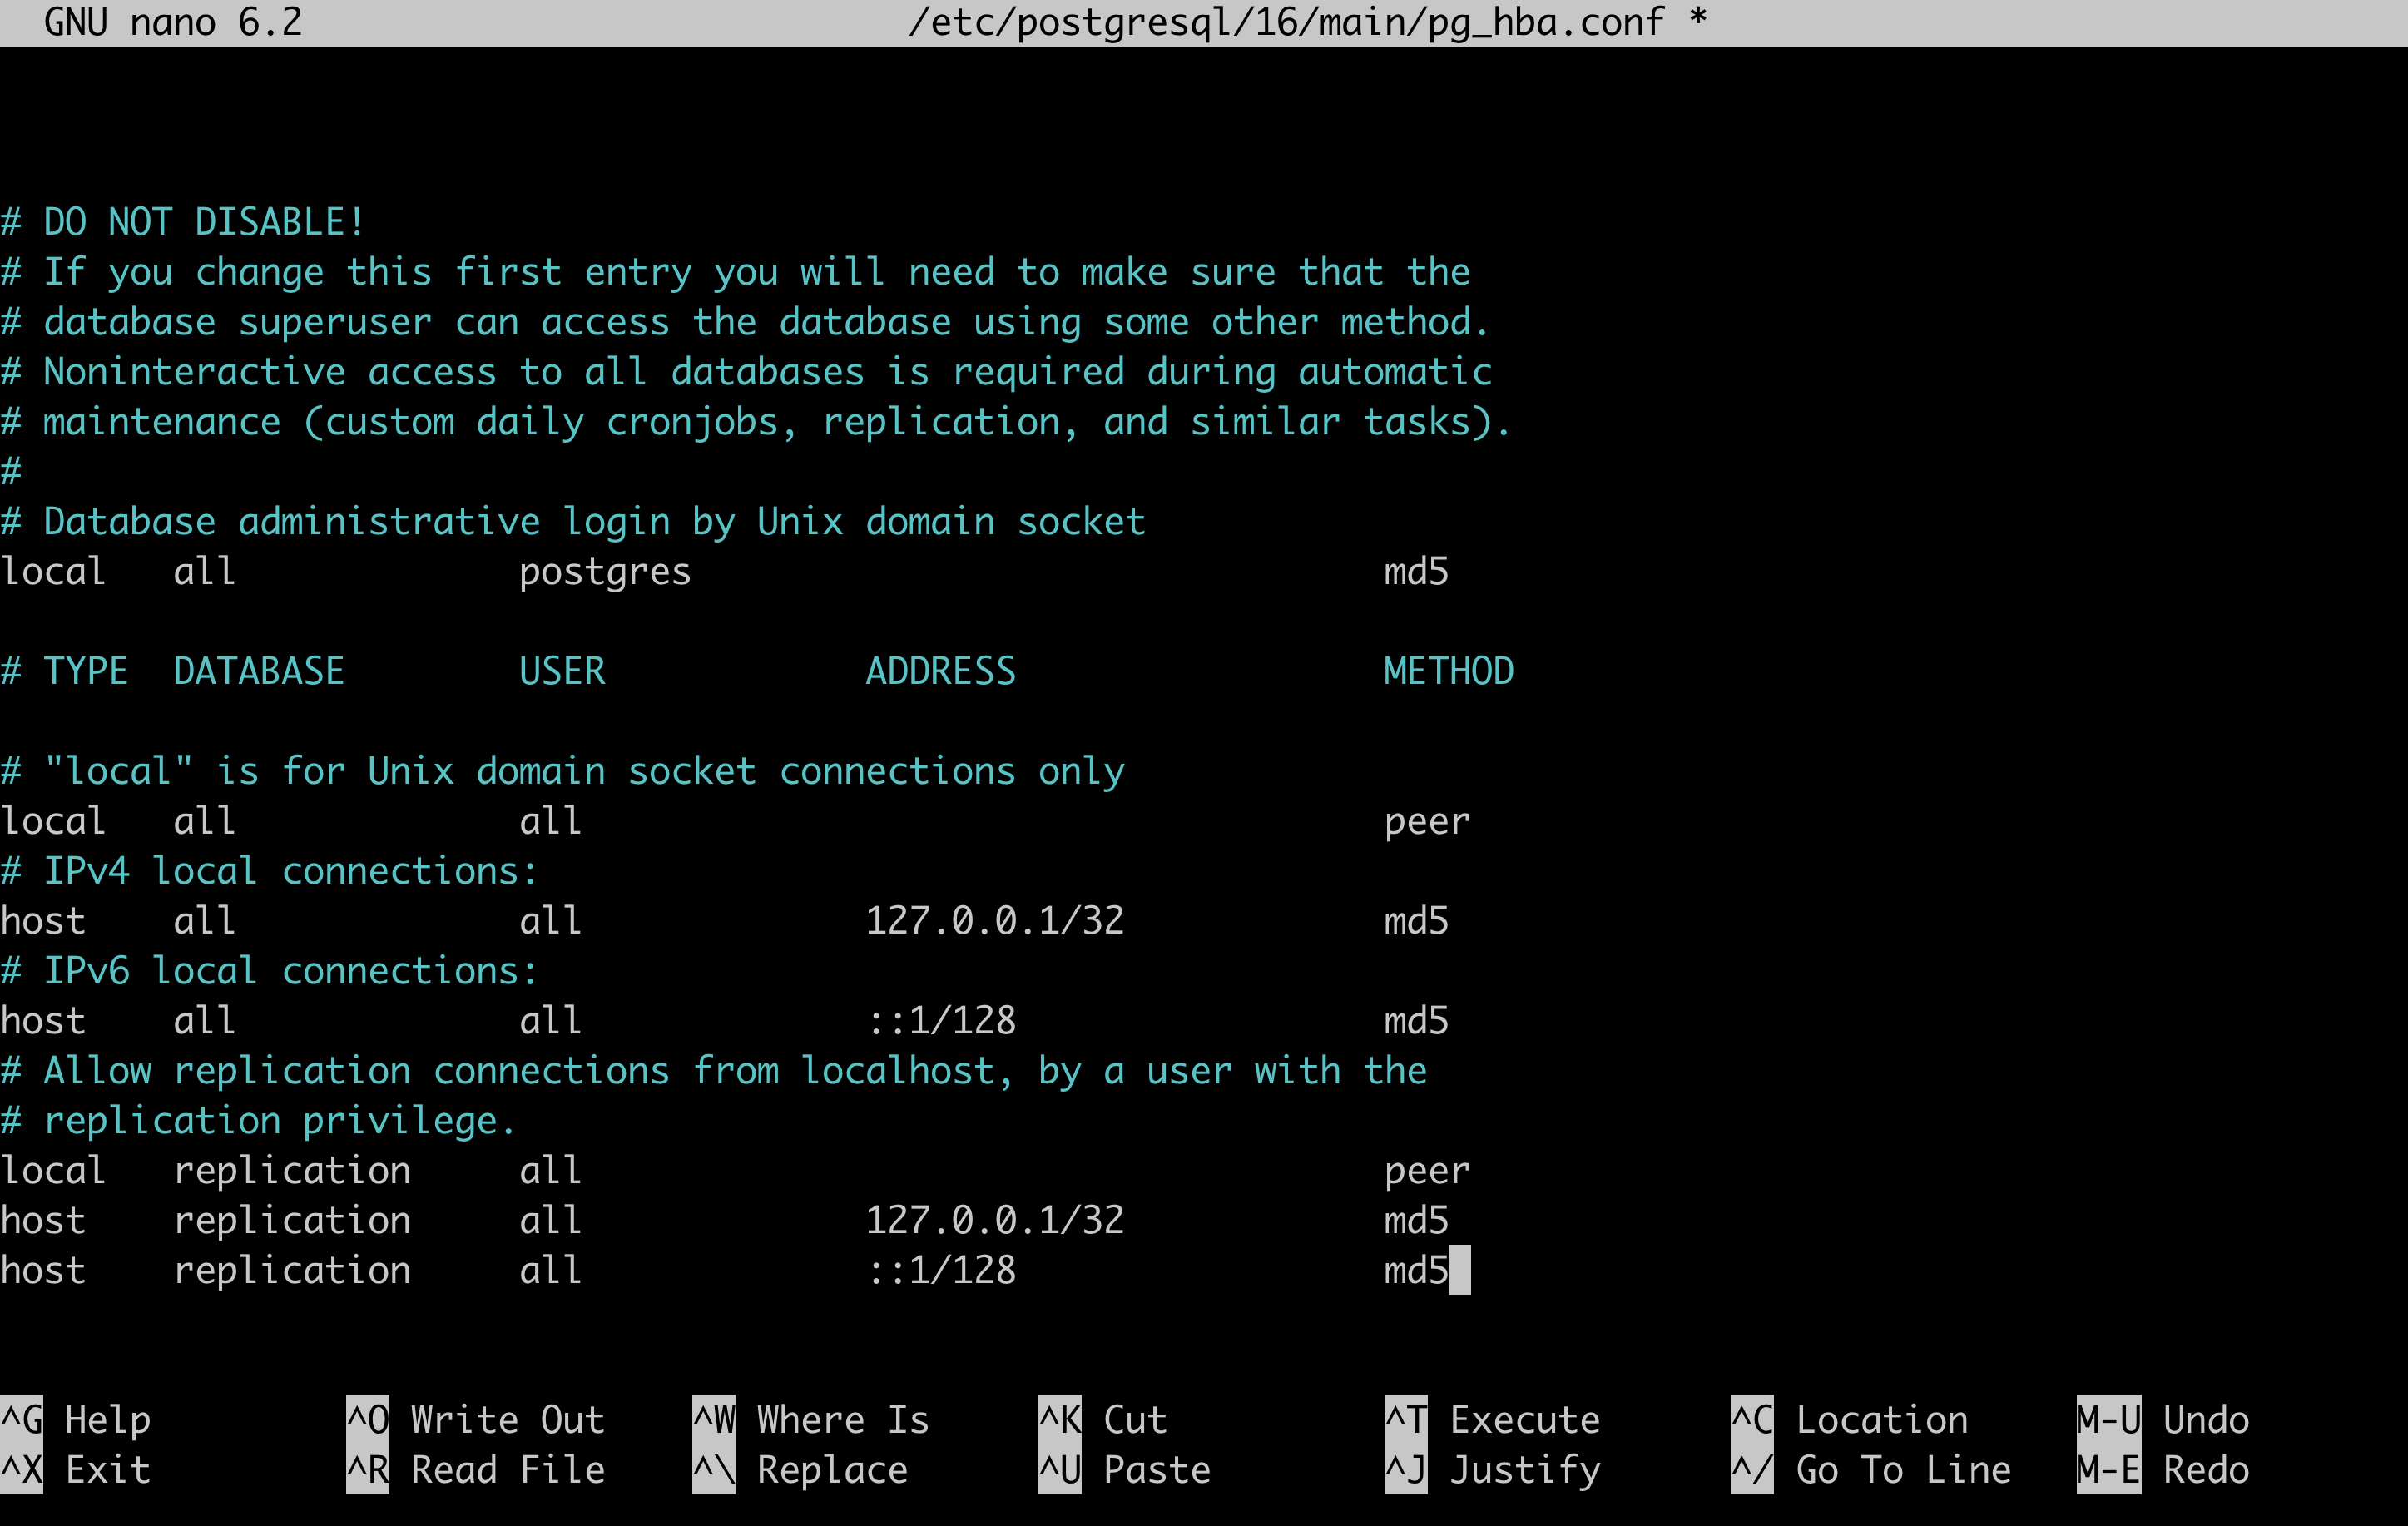
$ sudo nano /etc/postgresql/16/main/pg_hba.conf
On the line local all postgres peer change “peer” to “trust”
You should now be able to reload postgres and populate the database with the following commands:
$ sudo systemctl reload postgresql
$ sudo psql -U postgres <seshat_db_name> < /path/to/file.dump
Step 7: Secure the database
Add a password to the database for security.
Add a password for the superuser by logging in to the database with your superuser:
$ sudo -u postgres psql
Send the following SQL command to set the password for the superuser. Make sure to replace <db_password> with your desired password (and make sure to remember it):
ALTER USER postgres WITH PASSWORD '<db_password>';
Locate pg_hba.conf if you don’t know where it is:
$ sudo psql -U postgres -c 'SHOW hba_file;'
Update postgres to use md5 with nano /path/to/pg_hba.conf
Restart postgres:
$ sudo systemctl reload postgresql
Step 8: Set up environment variables for connecting to the database
Create a configuration file with your database info for Django. The presence of this file will ensure Django connects to your local database.
Within the repo, create a file called seshat/settings/.env with the database connection variables.
Get a Cesium access token
You will also need to generate an access token for Cesium in order for the globe to render on Seshat pages that include maps.
Visit the Cesium website and create an account.
Once you have an account, navigate to the “Access Tokens” tab and create a new token.
Add this token to the .env file as shown below.
The file should look like this:
DB_NAME=<seshat_db_name>
DB_USER=postgres
DB_HOST=localhost
DB_PORT=5432
DB_PASSWORD=<db_password>
CESIUM_ION_ACCESS=<cesium_access_token>
Step 9: Migrate the database
Ensure that all Django database migrations have run:
$ python manage.py migrate
Step 10: Collect static files
$ python manage.py collectstatic
Step 11: Load the shape data
If the shape data tables are not yet populated in your copy of the Seshat core database and you have access to source data, populate one or more of them with the instructions here.
Step 12: Run Django
$ python manage.py runserver
If you have set up Seshat on a Multipass VM, you can access the Django server from your host machine by following these commands:
First, check IP inside VM:
$ ip addr show
This will return a value like 192.168.64.3. Note this IP address as you will need to insert it into the following commands.
In the VM, you need to now ensure that the firewall is not blocking incoming connections on port 8000:
$ sudo ufw allow 8000
In a macOS Terminal, run the following command to forward the port, but replace <INSERT IP ADDRESS HERE> with the IP address you noted earlier:
$ multipass exec primary -- sudo iptables -t nat -A PREROUTING -p tcp --dport 8000 -j DNAT --to-destination <INSERT IP ADDRESS HERE>:8000
Now, restart the VM:
$ multipass restart primary
Log back into the VM:
$ multipass shell primary
Finally, run the Django server but remember to first activate the virtual environment (see Step 1):
$ python manage.py runserver 0.0.0.0:8000
You should now be able to access the Django server from your host machine by going to http://192.168.64.3:8000/ in a browser (where 192.168.64.3 may need to be replaced with the IP address you noted earlier).